To activate this function, follow the steps explained below:
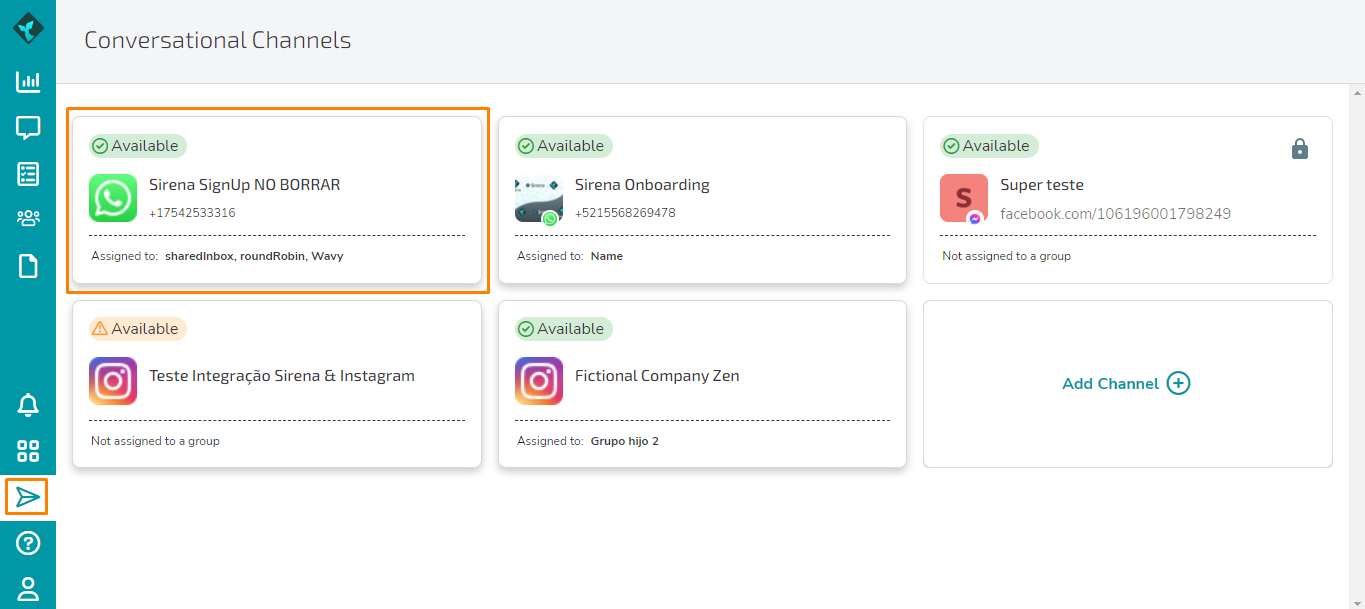
1. Go to Conversation Channels on the left menu and choose the channel of your business (WhatsApp or Facebook Messenger) where you want to configure it, in this case we will choose WhatsApp:
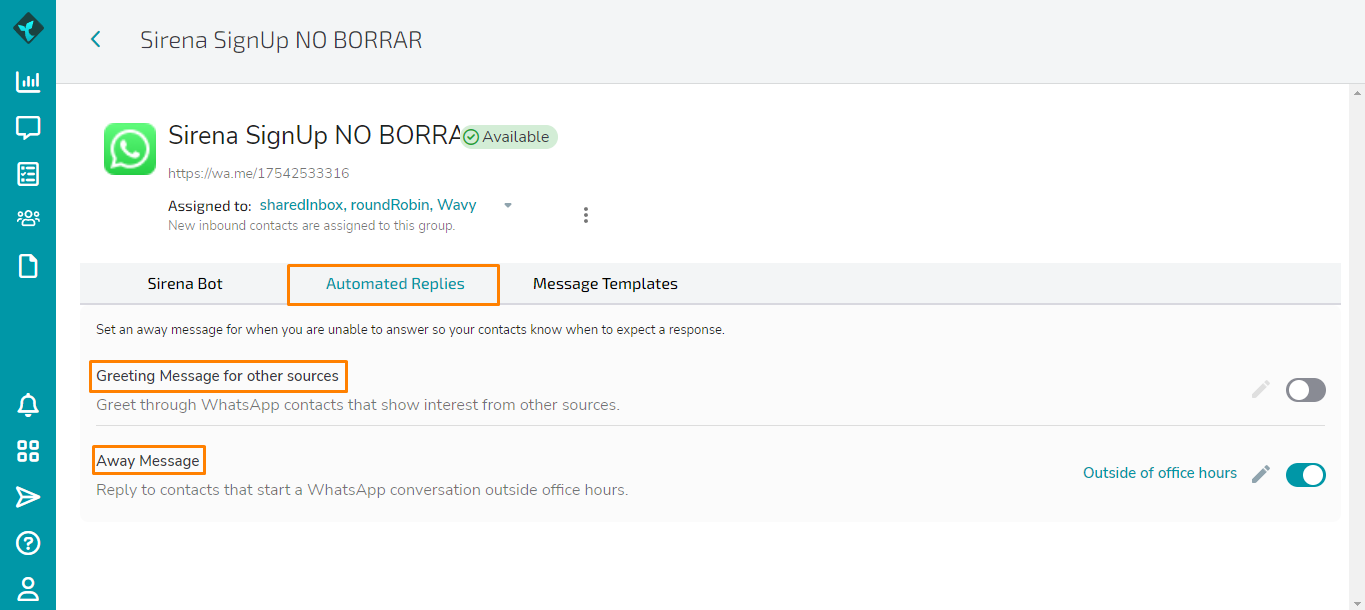
2. Once you open the channel, in the "Automated Replies" tab you'll see two types of messages that can be set up: Greeting messages for other sources and Away messages.
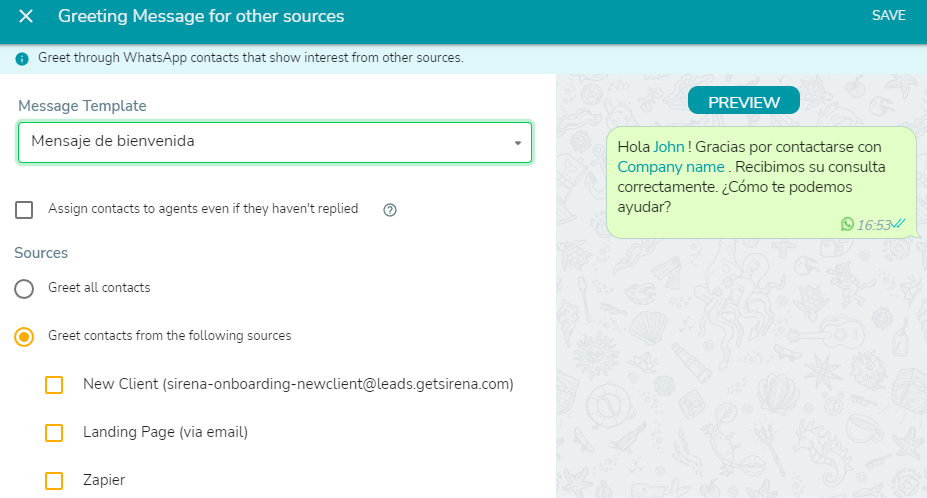
The Greeting message settings for other sources are similar to the bot welcome message settings, but in this case you will need to select a WhatsApp-approved message template. You can also choose if you want this delivery to be automatic for all origins or only for some in particular.
Zenvia Conversion will automatically send this message template to start a WhastApp conversation as soon as you enable this option and start receiving new leads from the selected sources.
You can only choose message templates that do not contain agent variables, meaning that this welcome message cannot be used to send templates that have agent's name, phone number or email.
If none of the available templates work for you, you can always request a new template.
Keep in mind that, in order to use it as a welcome message, it must not have any agent variable. If you want to learn more about how to request a new template, please visit our help article for WhatsApp and Facebook message templates.
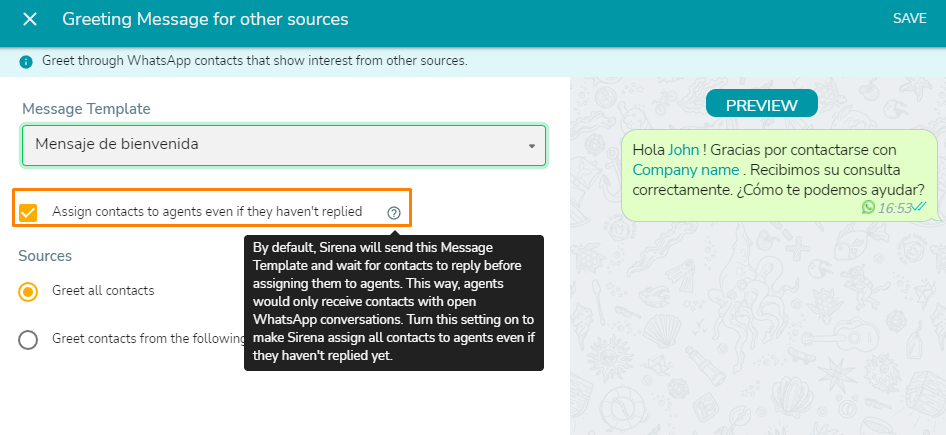
Assign contacts to agents even if they haven't replied
By default, Zenvia Conversion will send this Message Template and wait for contacts to reply before assigning them to agents, so agents would only receive contacts with open WhatsApp conversations.
These contacts are all closed shortly after the message is sent. Only when the customer responds are they opened and assigned to consultants.
By choosing to enable the option "Assign contacts to agents even if they haven't replied", agents will receive the contact even if there is no response from the client to the message template:


