The contact assignment defines how new contacts will be distributed among commercial support groups. With this configuration, users from a specific group receive notifications when new contacts arrive at the Support Inbox, speeding up the response and ensuring that each contact is attended to by the right team.
⚠️ Attention: Users outside business hours are not notified.
In this article, understand:
Types of contact assignment and how they work
See the options and how they apply to support groups:
Manual Assignment
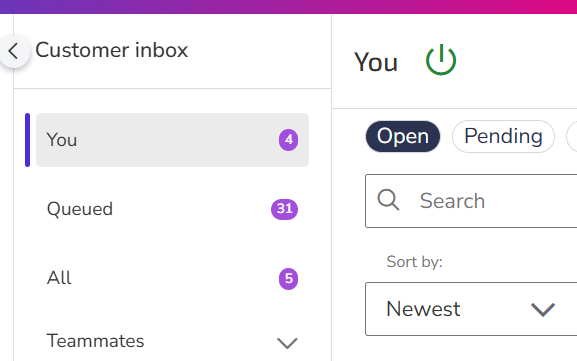
Agents must manually select contacts from the Queued list in the support inbox to attend to them.
This means that:
- When a new contact arrives, all agents receive a notification at the same time.
- The contact remains visible to all until an agent takes it.
⚠️ Attention: If a contact is assigned to a group with manual assignment, all agents in the group will be able to see it in the Queued list, even with restricted visibility, allowing any agent to attend to it. |
Radar
The Radar mode distributes contacts equally among available agents but allows an exclusive time for the first assigned agent.
In practice, it works as follows:
- The first agent has a set time to take the contact exclusively.
- If the agent does not attend within the time, the contact becomes visible to another agent.
- The cycle continues until an agent takes the contact.
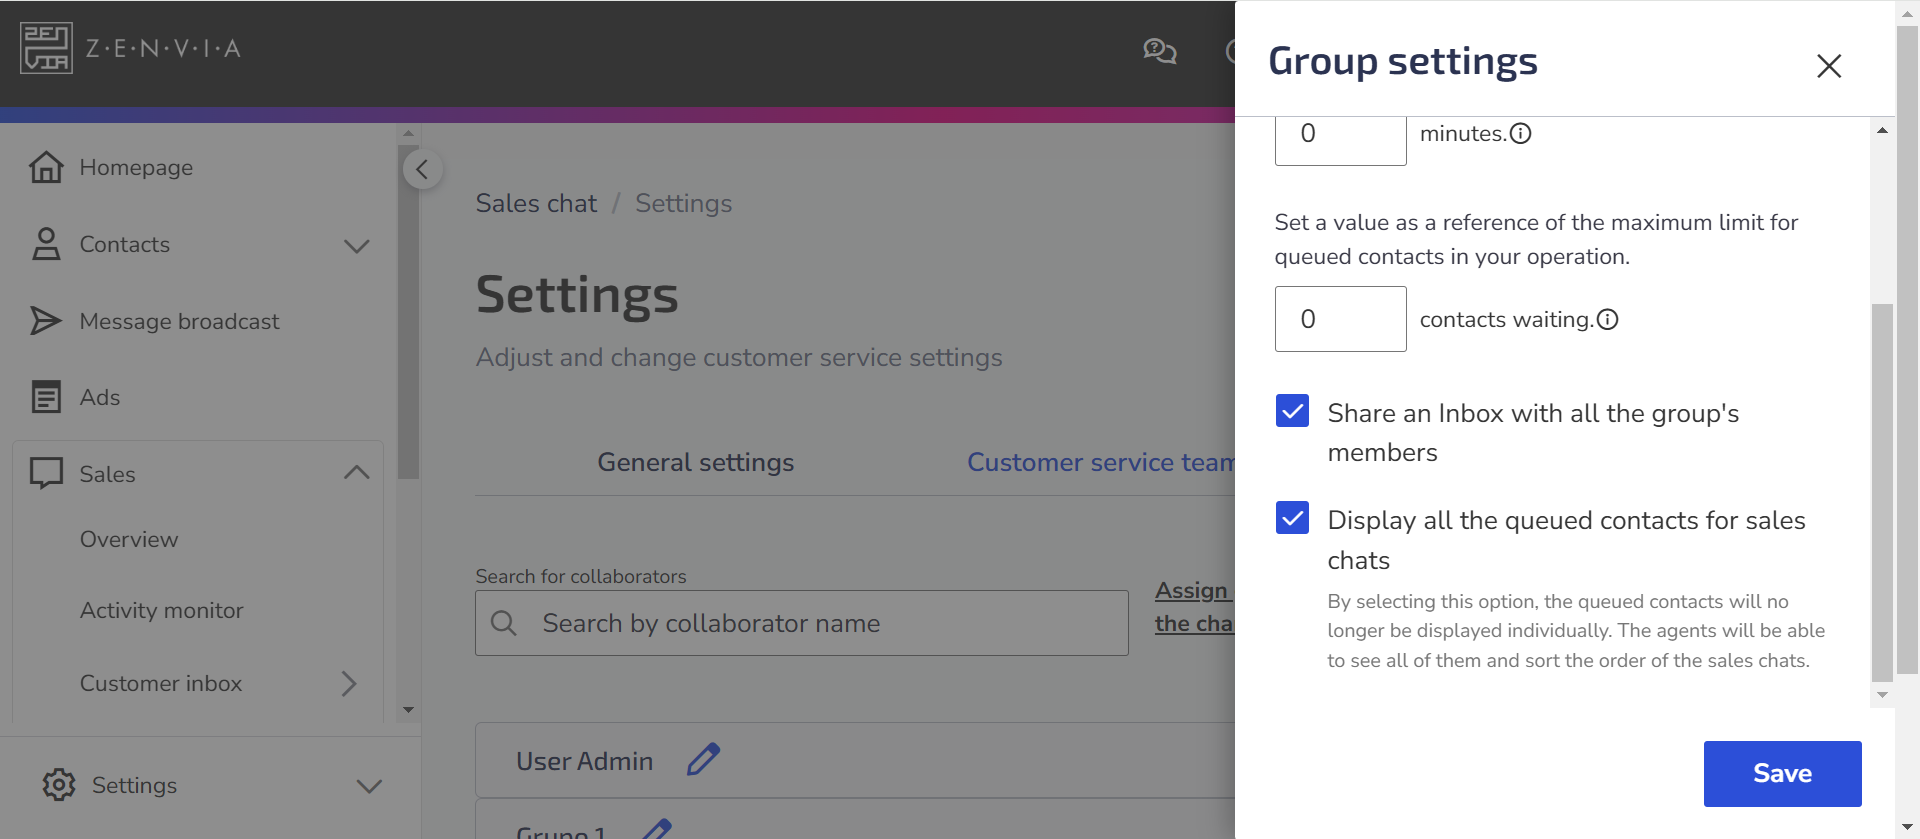
⚠️ Attention: The Radar rule is automatically disabled if the support inbox is shared in the group settings. Disable sharing to activate the rule.
Automatic Assignment
Contacts are automatically assigned to agents in sequence, without the possibility of choosing which contact to attend to first.
If there are multiple contacts in the queue, only one will be presented at a time, from oldest to newest.
This means that:
- The system sends one contact at a time to each agent, ensuring balanced distribution.
- The agent receives one contact at a time and only receives a new one after finishing the current interaction.
- Contacts are distributed from the oldest to the newest.
⚠️ Attention: Regarding the automatic distribution rule:
|
How to configure contact assignment
- Go to Sales > Settings > Customer service teams.
- Find the desired group and click on the three dots.
- Select Contact Assignment.
- Choose the desired assignment type: Manually or Automatically.
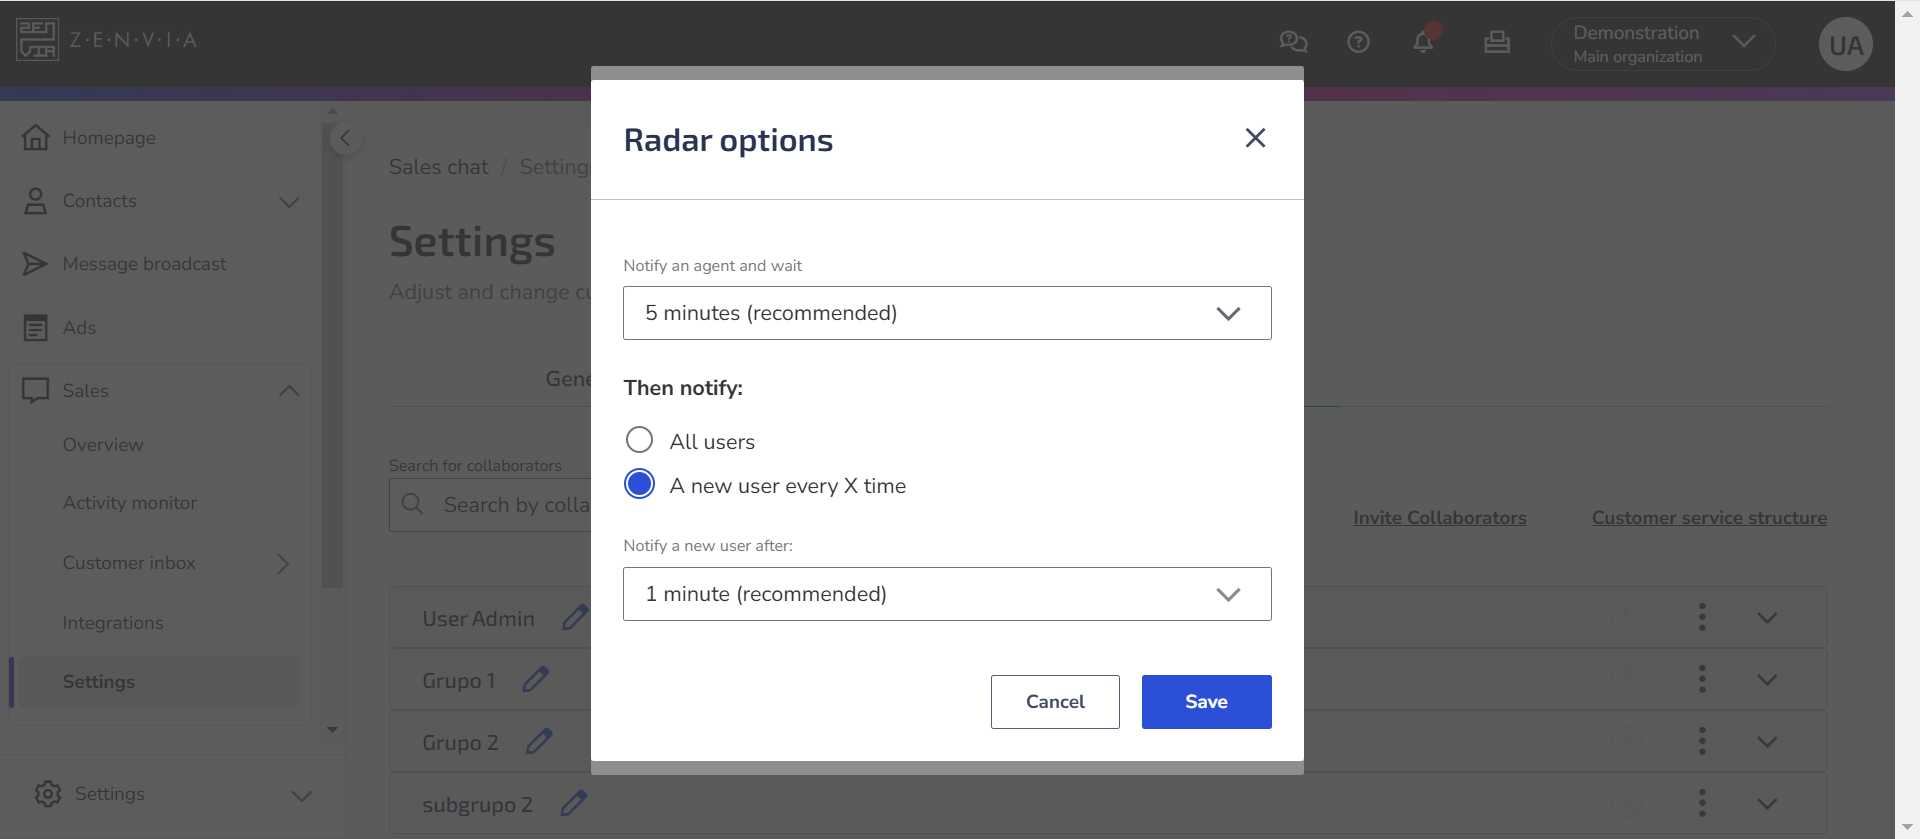
If you choose manual assignment with radar:
- Enable the Radar option;
- Click the pencil icon
to edit the settings.
- Set the exclusivity time for the first agent (recommended: 5 minutes).
- In Then notify, choose between:
- All users: After the first agent’s exclusivity time, the contact will be visible to all agents in the group simultaneously.
- One new user every X time: The contact will be released to the next agents in the distribution order. If you choose this option, set the exclusivity time for each new agent (recommended: 1 minute).
In practice, it works like this: If you set 5 minutes of exclusivity for the first agent and 1 minute for a new user, the distribution will work as follows:
- The first agent has 5 minutes of exclusive time to take the contact.
- If they don’t attend, a second agent will be notified.
- Every minute, a new agent will be notified until someone takes the contact.
Set re-assignment time after attendance
After finishing an attendance, you can keep the contact assignment for a specific period. Choose from:
- Never, 1 hour, 3 hours, 12 hours, 1 day, 3 days, 7 days, 14 days, 30 days, or 90 days.
Click Save to apply the settings.