This article guides how to configure Additional Fields and Display Rules in Zenvia Customer Cloud to optimize customer support and request management.
⚠️Attention: Functionality available only for Operator and Admin profiles.
Additional Fields Settings
To configure the features, go to: Support > Settings > Additional Fields.
The Additional Fields allow you to collect extra and customized information during the support process, providing more detailed and efficient support.
Create new Additional Field
1. Go to Support > Settings > Additional Fields > Fields;
2. Click on New;
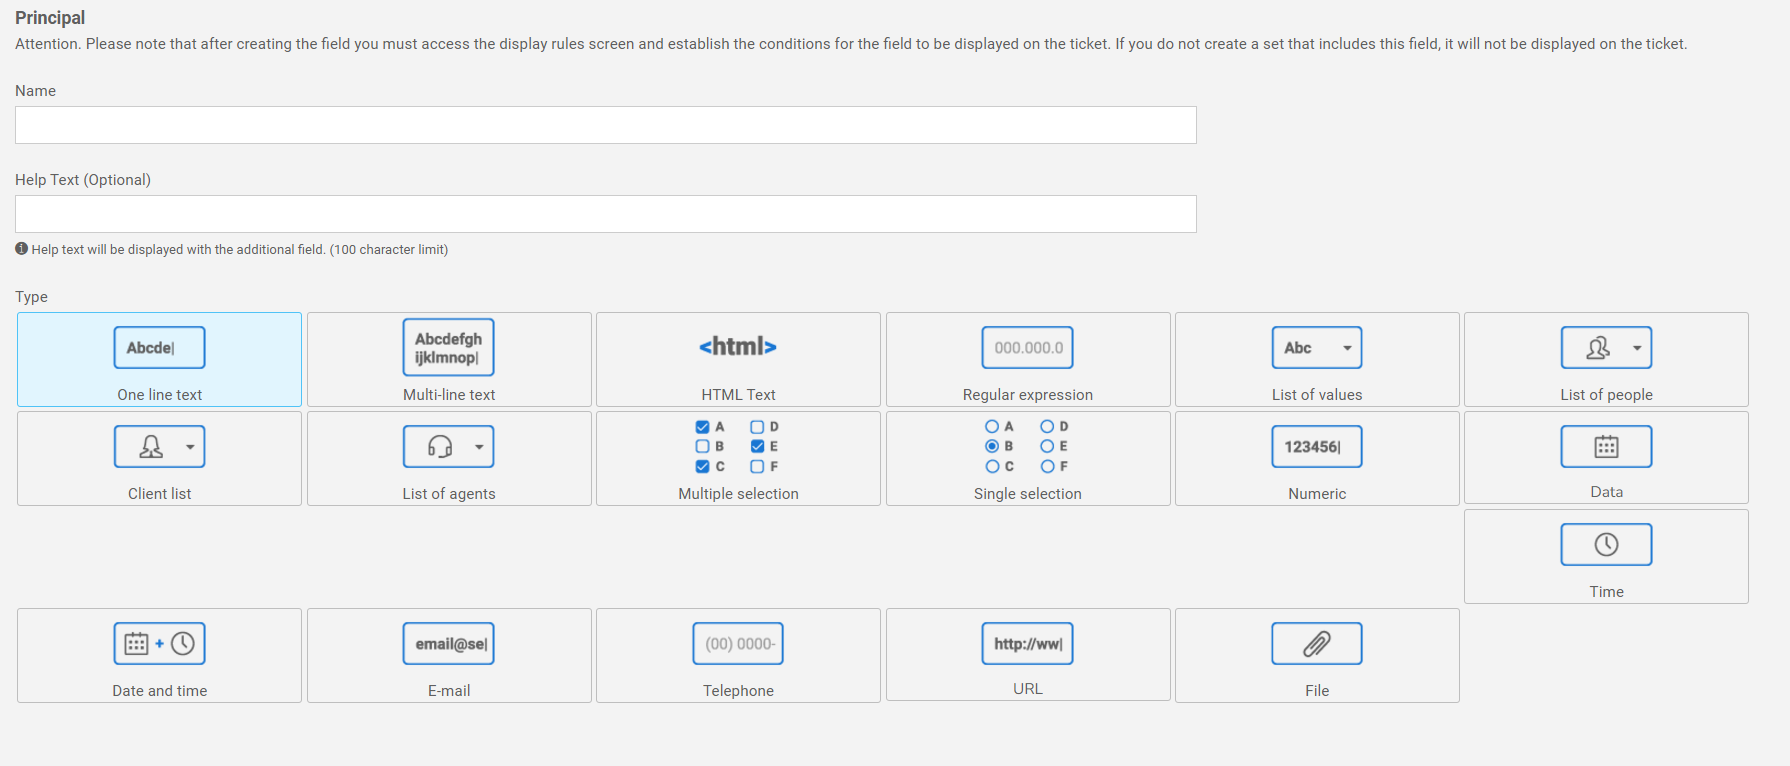
3. Enter a name;
4. Add help text to be displayed with the additional field;
5. Choose the Type of field:
6. In Classification of requested data, choose between:
- Normal data;
- Personal data;
- Sensitive personal data.
7. Click Save.
Done! Additional field created successfully.
After creating the field, go to the Display Rules screen to define the display conditions on the ticket. Without an associated rule, the field will not be displayed.
The Display Rules allow you to set conditions for showing or hiding fields, ensuring that only relevant information is requested as needed.
Create new Display Rule
1. Go to Support > Settings > Additional Fields > Display Rules;
2. Click on New;
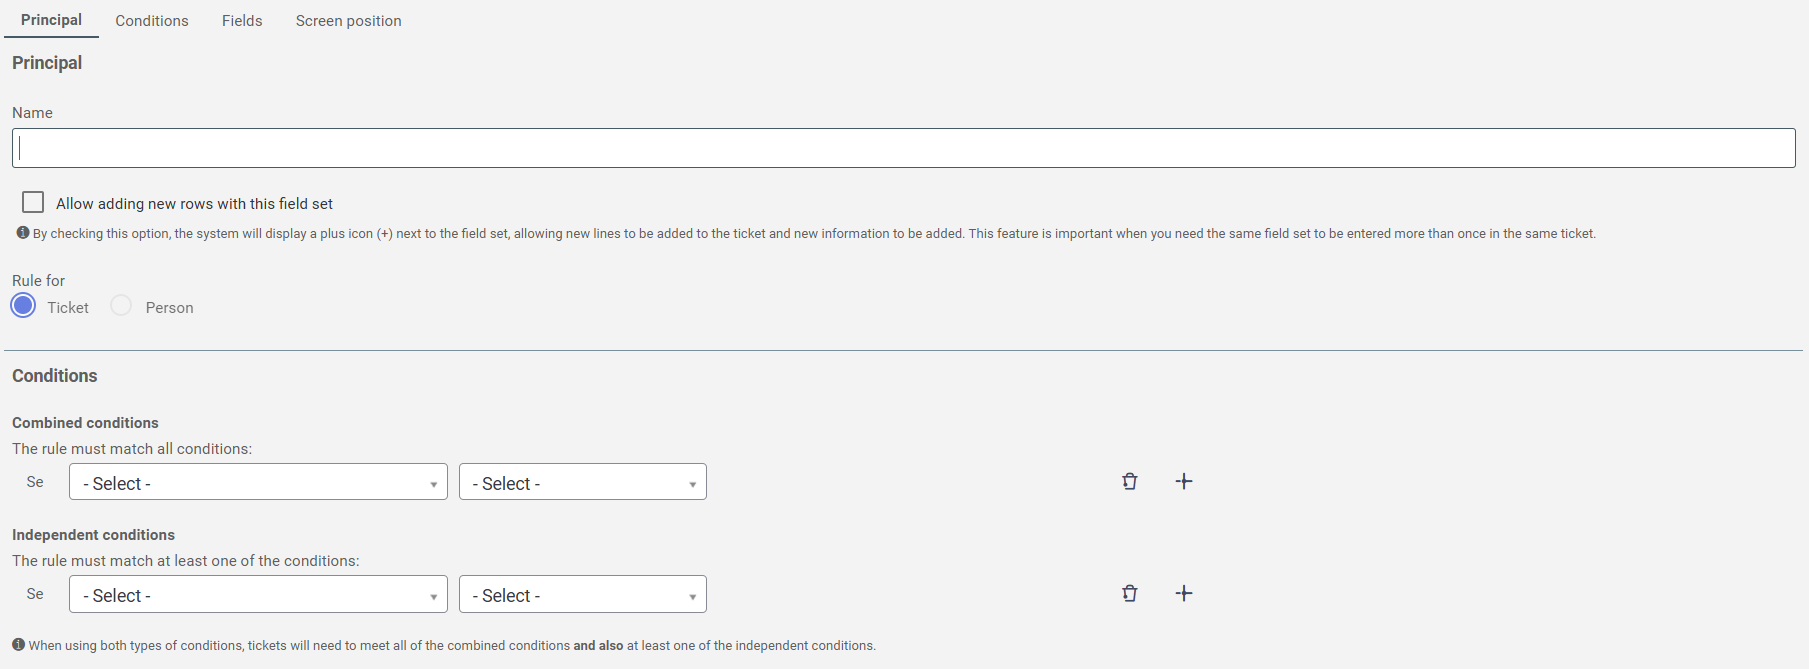
3. Enter a name;
4. Define if you want to allow adding new rows to this field set;
💡Tip: By selecting this option, the system will add a "+" icon next to the set, allowing you to add new rows to the ticket, ideal for cases where you need to enter the same set of fields more than once.
5. In Conditions, choose how the rule should be applied;
6. In Additional Fields, select the fields that will be displayed when the rule is met;
7. Adjust the positioning, size, and visibility and mandatory criteria for each field;


