With Zapier, you can send automated messages without needing to know how to code.
This guide will show you how to use Zenvia Conversion to pull contact details from a Google Sheets spreadsheet and use them to send an automated WhatsApp message.
Step-by-step
Create a Zap in Zapier
Go to Zapier.com and click MAKE A ZAP to create an integration between Google Sheets and Zenvia Conversion.
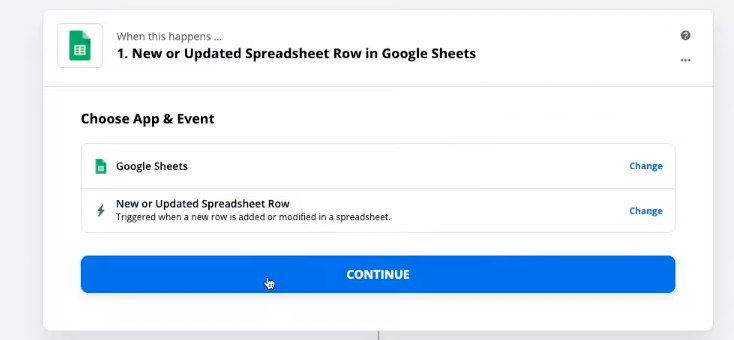
Choose the app containing your customer information (e.g., Google Sheets, Excel, or Numbers). For this example, we'll use Google Sheets.
Set the Trigger
Select the action that will trigger the workflow in Zapier. In this case, the trigger will be adding a new row to the spreadsheet.
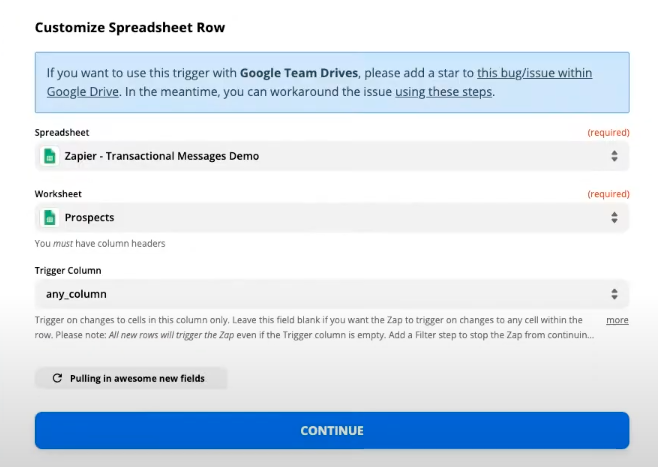
Select the file and spreadsheet
Choose the file and specific sheet tab you want to use for this automation.
Set up Zenvia Conversion in Zapier
Click Continue and search for "Zenvia Conversion" in the search bar.
Select the latest version of the platform (usually identified by the highest number).
Define the action in Zenvia Conversion
Choose what Zenvia Conversion should do when a new row is added to the spreadsheet. For this example, the action will be sending a WhatsApp message template.
Provide the API key
When you click Continue, you will be prompted for the API key.
To get the API key:
Log in to Zenvia Conversion.
Go to the Apps menu, find the Zapier integration, and copy the API key.
Connect your Zenvia Conversion account
Return to Zapier, select your Zenvia Conversion account, and paste the API key when prompted. Click Continue.
Customize the message template sending
Fill in the following fields:
Prospect: select the field containing the contact ID.
Channel: define the sending channel (e.g., WhatsApp or Facebook account).
Template: choose the message template you've already set up in Zenvia Conversion.
Template Variables (if applicable): input values to replace the template variables.
Test the integration
Click Continue and test the workflow to ensure everything is working correctly.

Done! You've now set up an automated integration to send transactional messages via Zapier using Zenvia Conversion.