The Custom Analytics functionality allows downloading analyses based on specific needs. The goal is to enable the Operation Administrator to extract custom analyses, allowing the export of specific data.
⚠️ Attention: This new functionality is available only for the Advanced Plan.
This article will show you how to create a new custom analysis and the actions on a custom analysis that has already been created. Let's start with:
Create a New Custom Analytics
To create a new custom analysis, go to Zenvia Chat - Administrator Profile > Analysis > Custom Analytics.
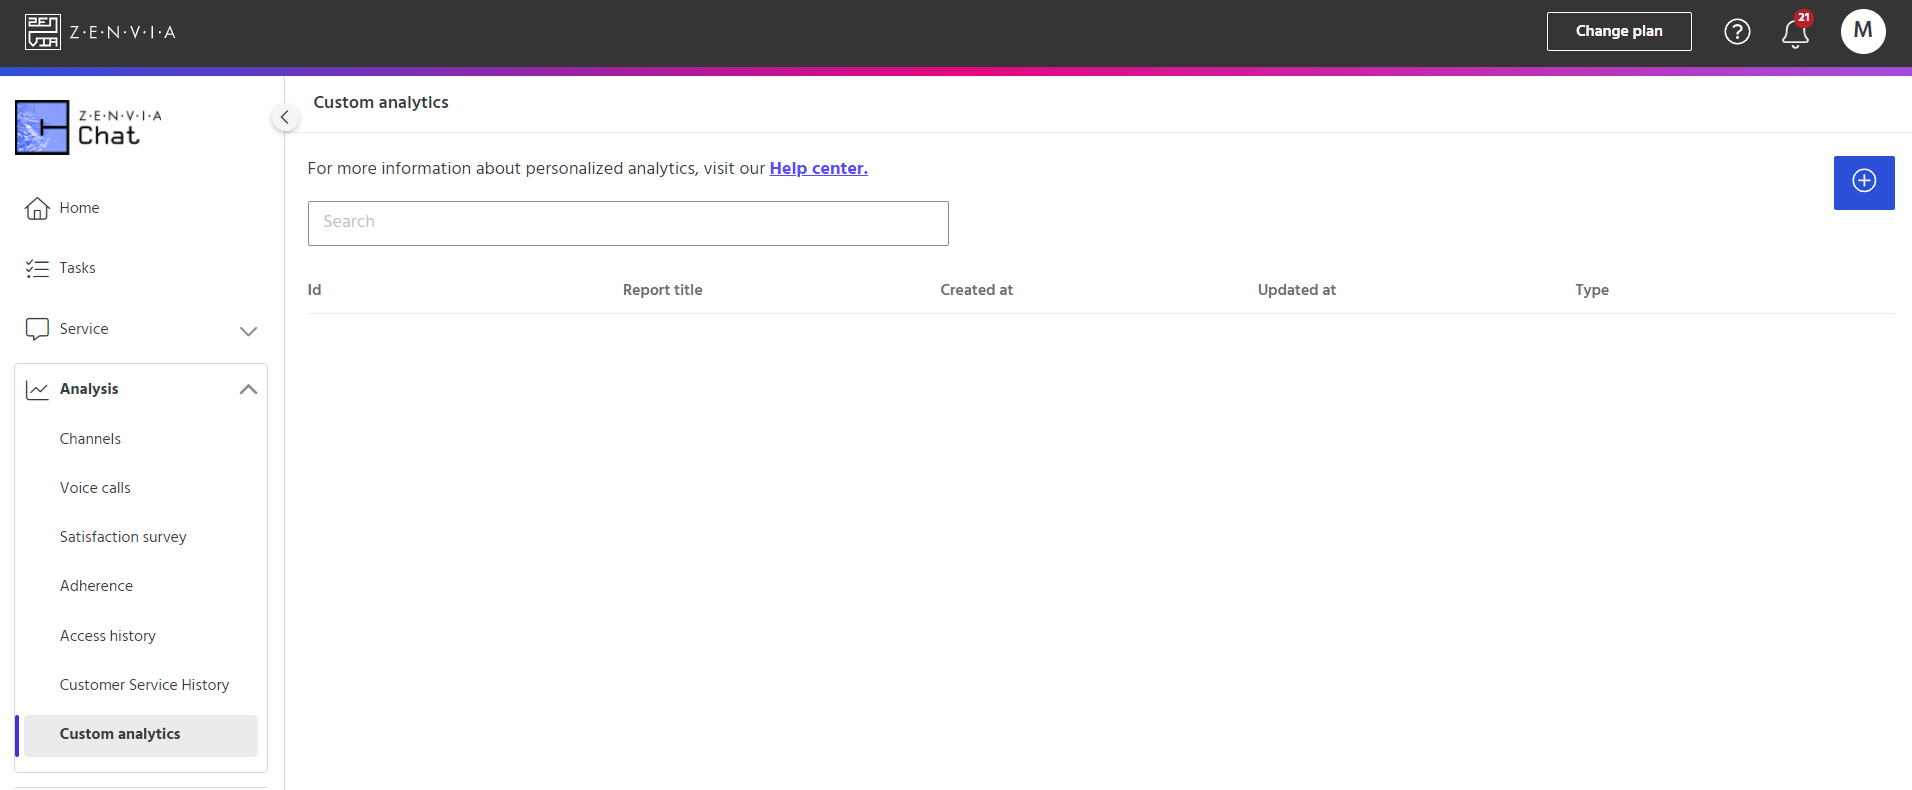
- Click the [+] icon to create a new report.
- Write a title for your Custom Report.
- Select the Report Type, which can be: Channels, Service History, Satisfaction Survey, Adherence, etc.
- Select the Grouping and Complementary Columns.
- The Grouping field will only present options after selecting the intended Report Type. Similarly, the complementary columns field will only display items when the Grouping field has selected options.
- Choose the Complementary Columns, and you can select the desired information: Agent ID, Agent e-mail, Received, Done, Completed, Ended, Ended due to inactivity.
For both the Channels and Service History report types, you can use complementary columns in the following cases:
- When you need to understand, in general, how the health of your service operation is performing based on the established SLA, allowing you to consider best practices if agents have a significant number of conversations exceeding the stipulated deadline.
- When paying third parties for your service operation, and one of the criteria for full payment to the agent is meeting the SLAs. In this scenario, regular control of this metric is required.
If desired, apply filters to refine the search. For example: By period, by department, or by agent.
You will be able to preview the analysis that will be downloaded in a screen-generated preview.
💡 Tip: Remember that the service data presented in this preview is only illustrative. The downloaded file will be named after the channel type and the date the download was made, in CSV format.
Select Save and download or just Save, depending on your intention.
Done! Custom analysis creation is complete.
Actions on Already Created Custom Analytics
On the main Custom Analysis screen, you can view the list of analyses already created by the Admin:
- Select the three-dot icon on the right side of the screen to open an analysis.
- Click View or Edit if you want to view the options selected since the last update (information displayed in the last update on column) or if you want to edit this information to download and/or save the report.
- Click Save/Download or just Save if you want to save your changes.
- Click Download to download exactly the same report based on the options selected in the last update (information displayed in the last update on column).
- Click Delete to delete the report.
⚠️ Attention: You must have at least one item selected in each of the following fields: Report Type, Grouping, Complementary Columns. Viewing and downloading custom analyses will only be allowed for clients with a profile set for report access/download.
Done! All stages of Custom Analytics are complete.