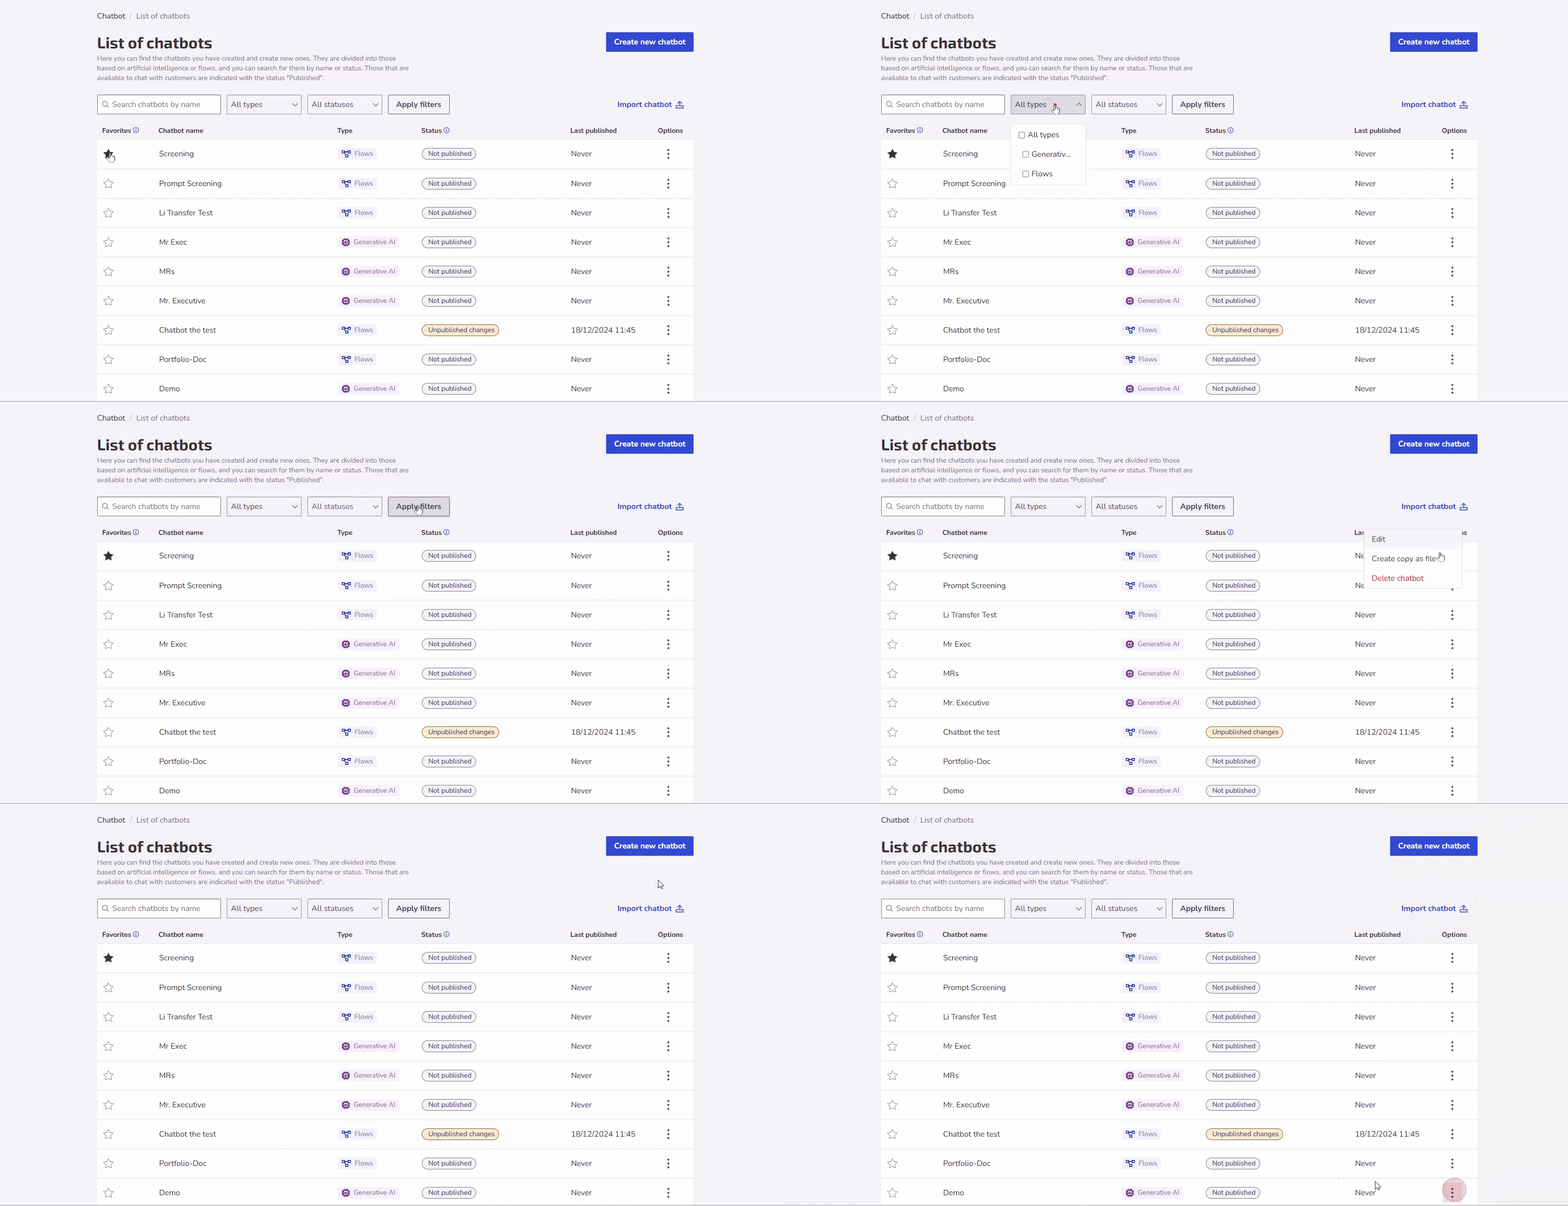
In the Chatbots List, you can find all the bots created, organized in a unified way.
This list allows filtering the chatbots by type, either by Artificial Intelligence, Qualification or Flows, and also searching by name or status.
The chatbots available for interaction with customers are marked with the "Published" status, making it easier to manage and create new bots directly from this interface.
💡 Tip: Click the star icon and mark the chatbots you use the most so that they appear first in the list.
The information displayed for each chatbot includes:
Chatbot name.
Type: Flow Chatbot, Generative AI, or Automated Screening (Qualification).
Chatbot statuses:
The Published status indicates that all changes made to the chatbot are in production and ready for use. However, even with this status, the chatbot might not be visible or accessible to end users if it is not linked to any channel. The link is necessary for the chatbot to interact with users through specific platforms, such as websites, messaging apps, social networks, etc. Therefore, after publishing the chatbot, ensure to link it to one or more communication channels.
The Not published status means the chatbot is still under development or review, and the changes made are not available in production. Once the chatbot is ready, publish it and link it to the desired channels.
The Unpublished changes status indicates there are modifications to the chatbot that have not yet been applied to the published version. The changes are saved but not in production.
Last published of the chatbot.
Options , where you can Edit, Create copy as file, or Delete chatbot.
⚠️ Attention: The Create copy option is only available for Flow Chatbots. It simplifies the replication of the chatbot, allowing it to be modified and imported into the same organization or another one within the Zenvia Customer Cloud. Here’s how to create one.
Create copy as file
Follow the tutorial below to export your flow chatbot as a JSON file. This file contains the entire structure of the chatbot, making it easy to replicate the whole flow and content for reuse in other bots.
Click Options > Create copy as file.
Confirm by clicking Create file and wait for the download.
Done! The chatbot will be copied in its current version and downloaded as a file. To use it in creating another chatbot, taking advantage of all its structure and content, follow the instructions in the next section on Importing a chatbot.
Import Chatbot
At the top of the Chatbots List, click Import chatbot.
Define the name of the new chatbot to be created during the import.
Under Select file, choose the one containing the original chatbot's information.
Complete by clicking Import chatbot.
Once completed, your bot will be visible in the Chatbots List. Check out other useful articles:
Defining the chatbot’s objective and type

