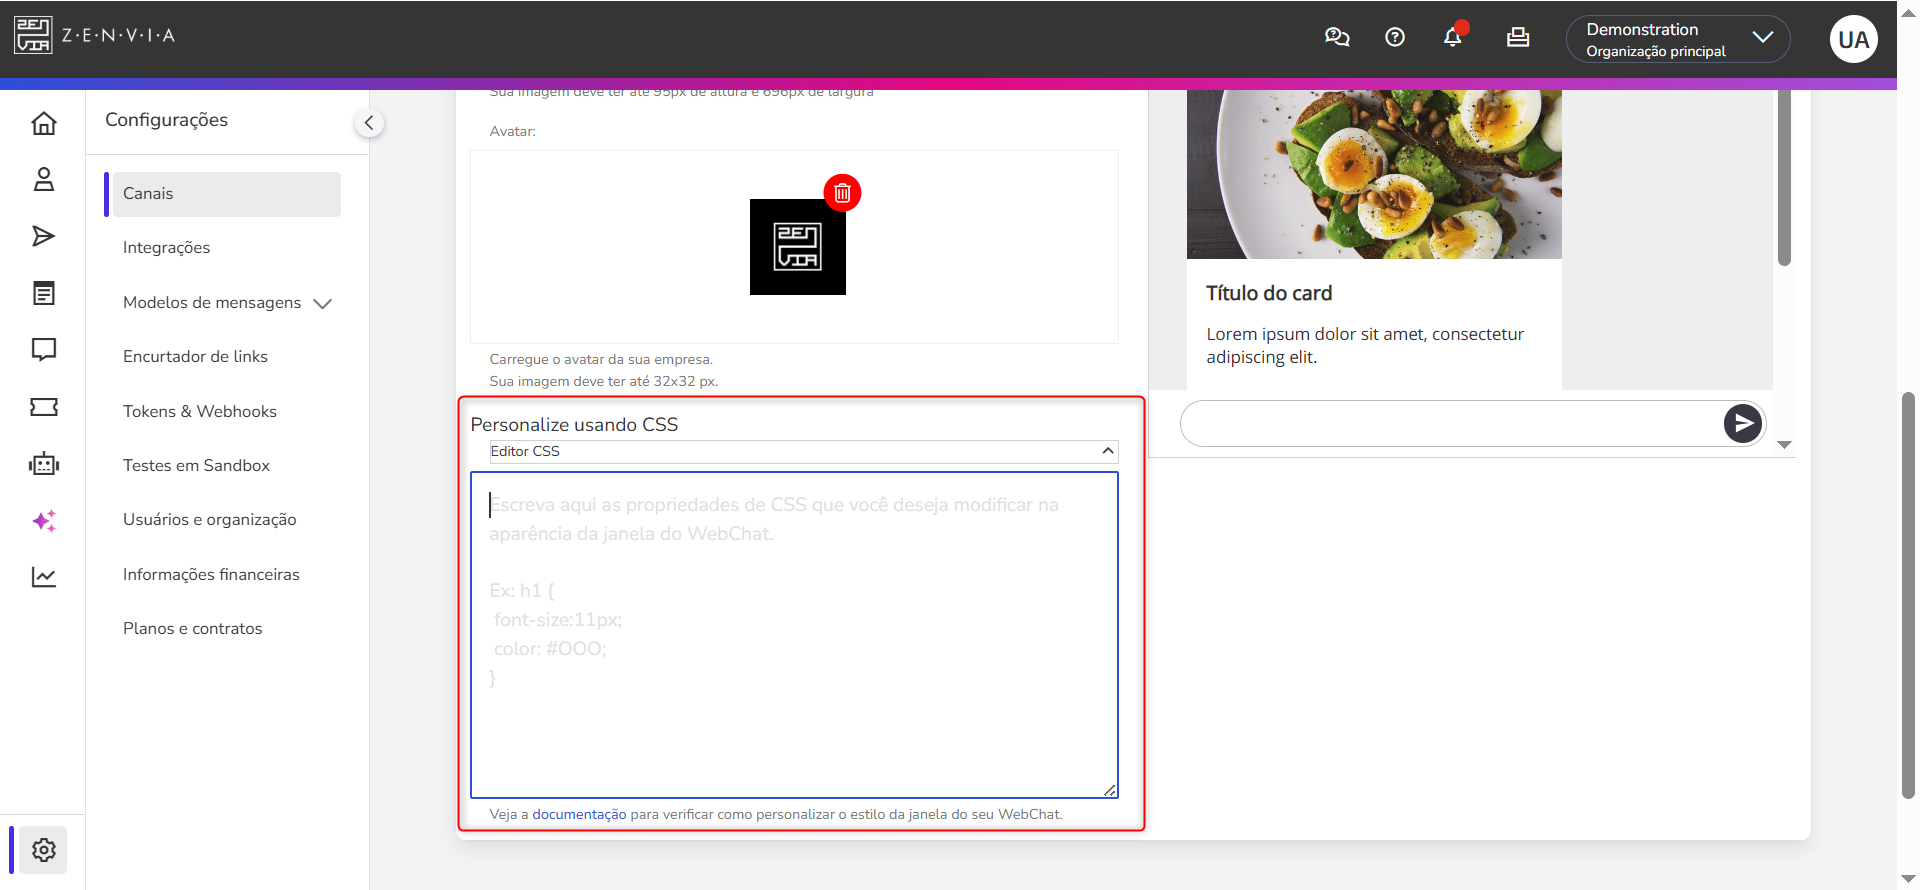
The CSS Editor available in the Web Chat channel appearance settings allows advanced customization of the chat window interface. It is recommended when standard settings (such as color, avatar, and logo) do not meet the project’s requirements, whether for business needs or visual criteria.
⚠️ Attention: The CSS Editor only applies to the chat window, without affecting other elements of the page where the Web Chat is embedded. If you want to customize the floating button, you need to apply the styles directly in your website's code. |
Below, you will see how to visually customize the Web Chat through the CSS Editor, including modifications to the header, conversation background, message bubbles, font, and input field.
Where to modify?
💡 Tips
|
Header
| Change | CSS Code | Result |
| Change the background color of the header (the color behind the logo) | .chat-header { background: #FFD300 !important; } | 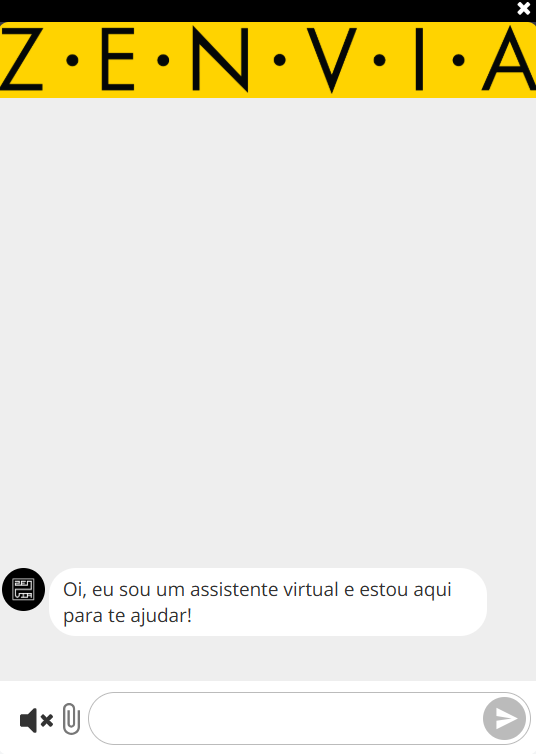 |
| Remove the header (to hide both the logo and the header space) | .chat-header { display: none !important; } | 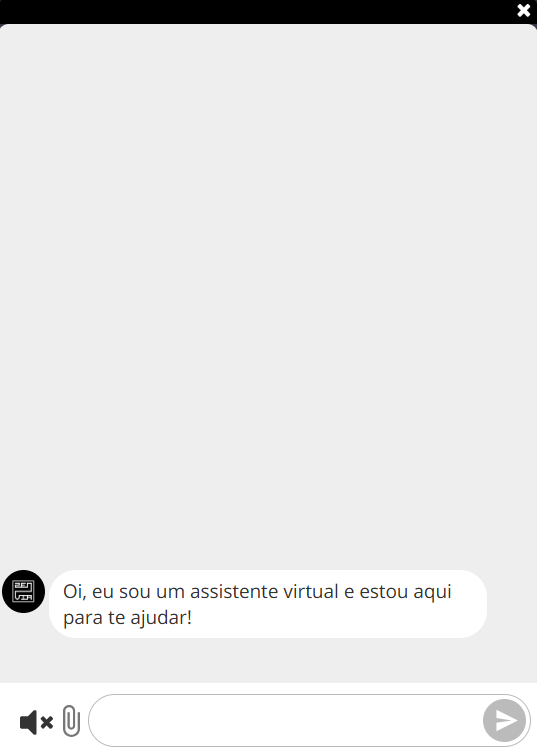 |
Conversation Background
| Modification | CSS Code | Result |
| Change conversation background color | body { background-color: #FFD300 !important; } | 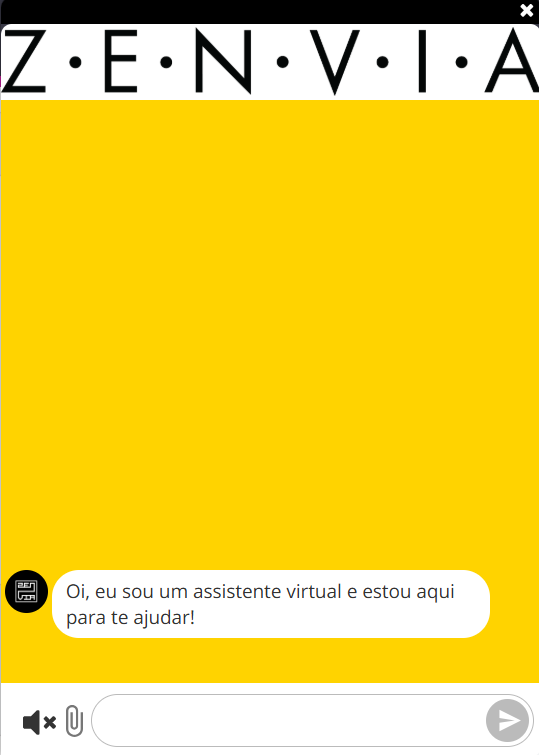 |
| Insert background image in the conversation. A valid image URL is required. | body { background-image: url(link) !important; } | 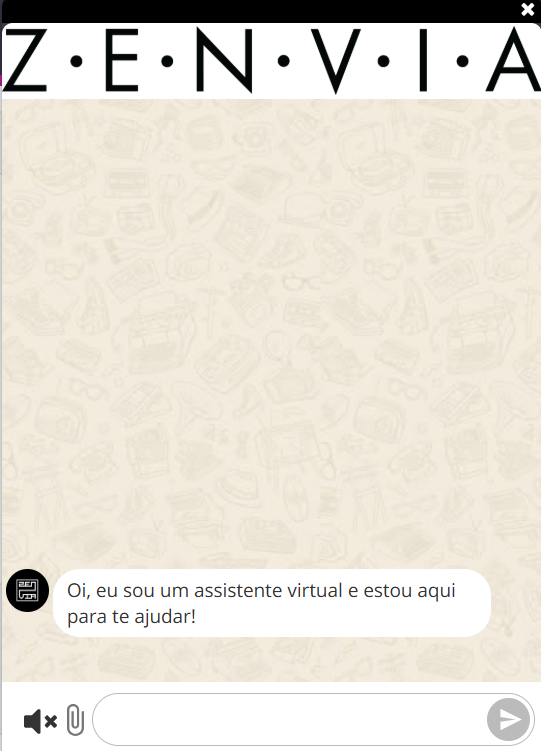 |
Chat bubbles and font
| Modification | CSS Code | Result |
| Change font size | .message-thread .message { | 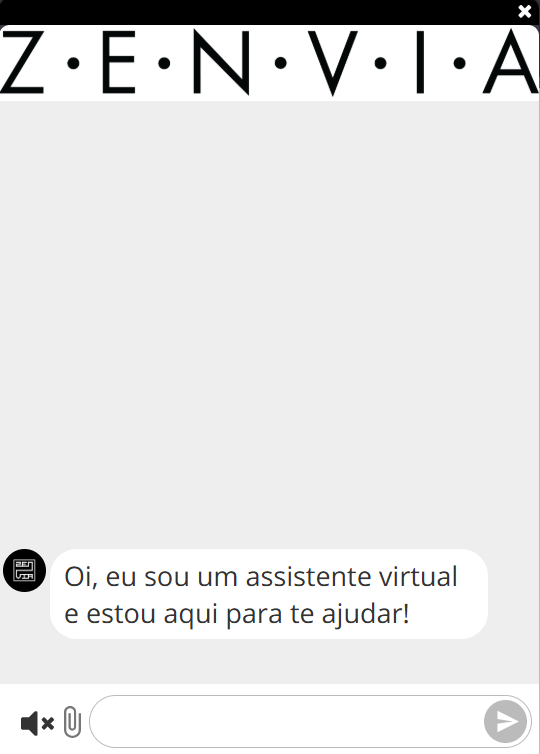 |
| Change font color | .message-received .message-content { | 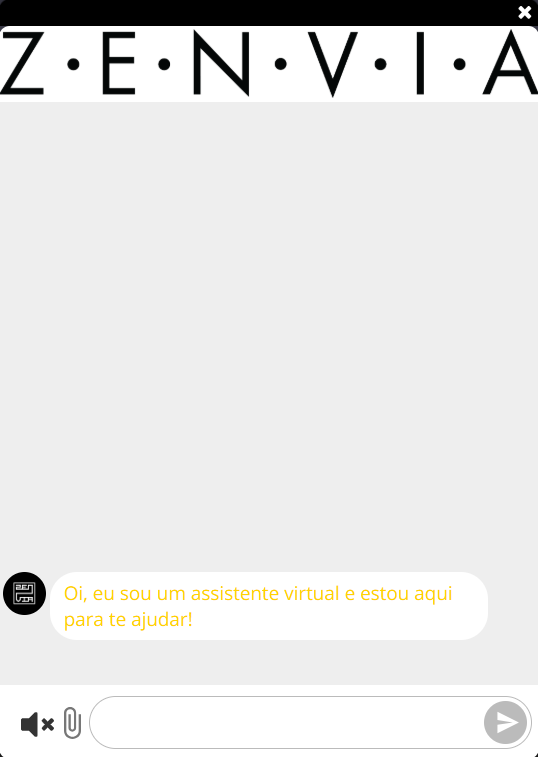 |
| Change user response font color | .message-sent .message-content { | 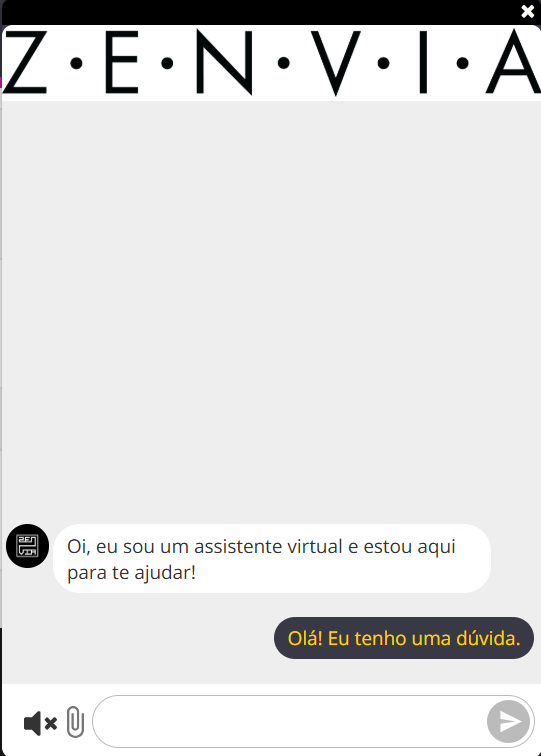 |
| Change bubble color | .message-received .message-content { | 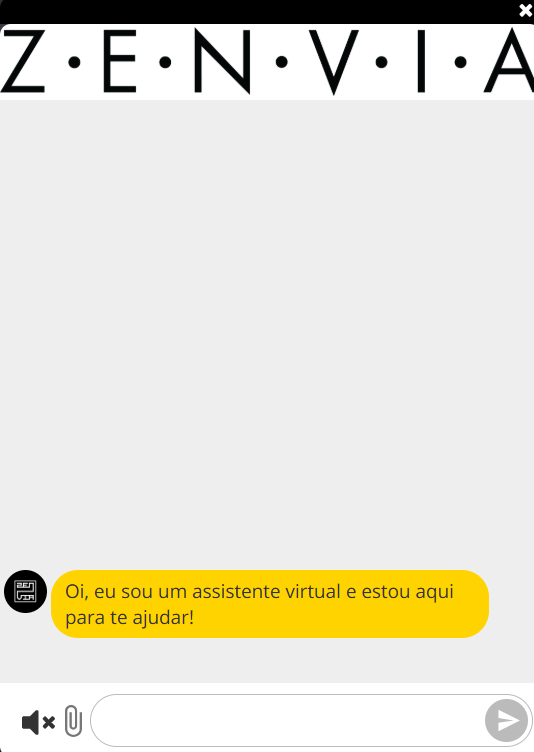 |
| Change user response bubble color | .message-sent .message-content { | 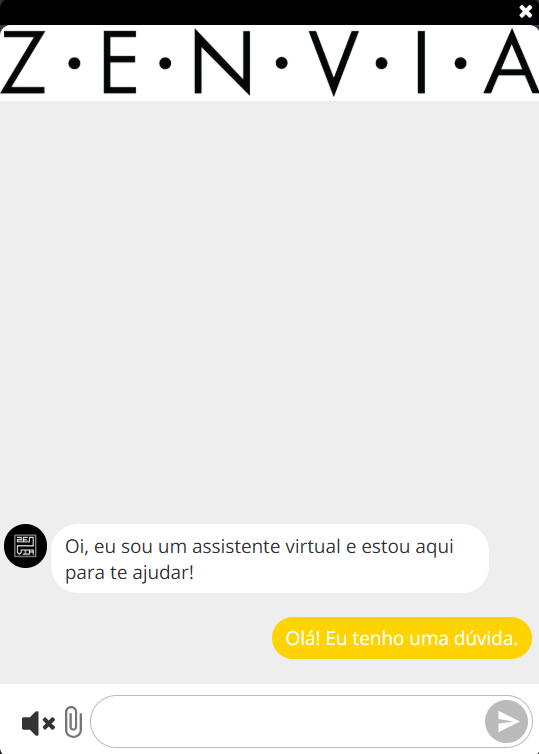 |
User input field and actions
| Modification | CSS Code | Result |
| Remove file upload clip | .chat-footer form .clip.enabled { | 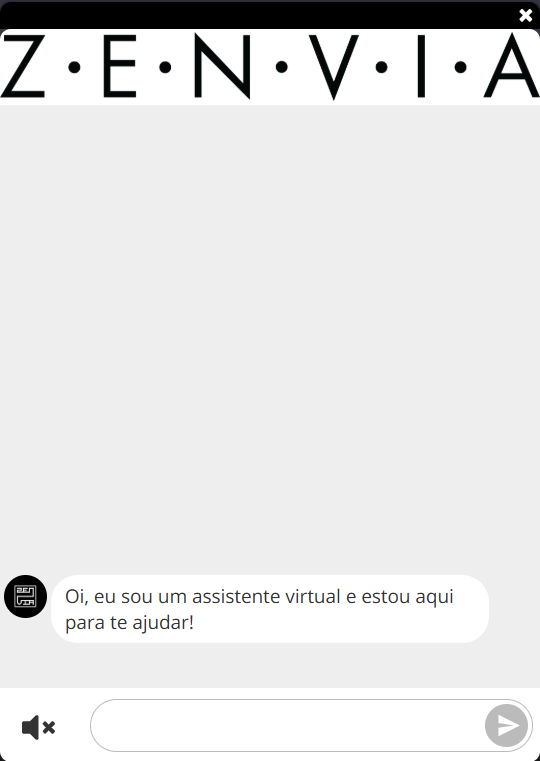 |
| Remove input field | .chat-footer { .message-thread { .message-thread-wrapper { | 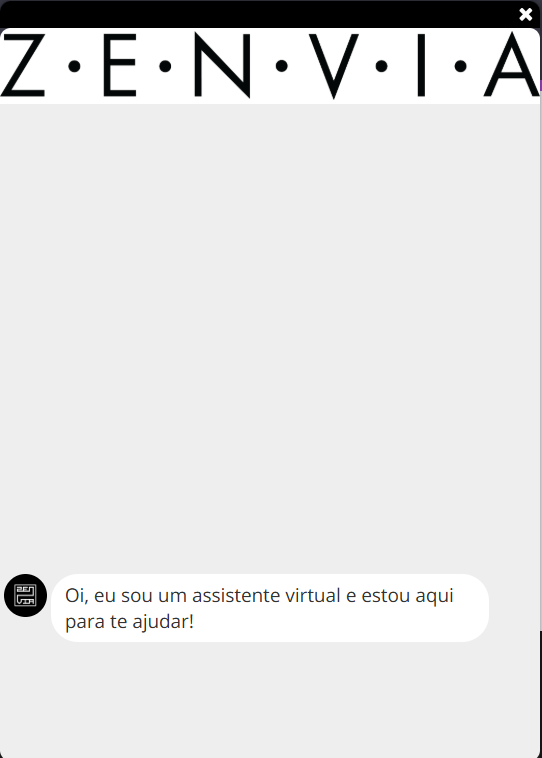 |
Customize the floating button: Code examples
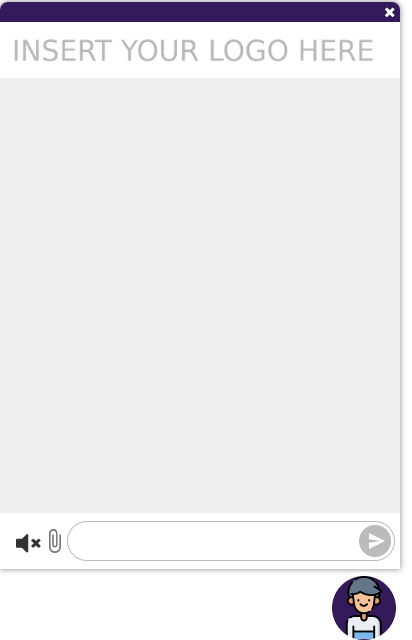
👉 Example 1: Change and center the floating button icon
(In this example, the button receives a custom image as an icon, which is centered inside the button.)
<body>
    <script src="https://static.zenvia.com/embed/js/zenvia-chat.hlg.min.js"></script>
    <script>
      var chat = new ZenviaChat('59aef0d85ebad512447fb2fa870bbd5a').embedded('button').build();
    </script>

    <style>
        .znv-chat .znv-float-button {
          background-image: url('http://s3-sa-east-1.amazonaws.com/zenvia-smart/omni-chat/1755610140928.png') !important;
          background-size: 100% !important;
          background-position: center !important;
        }
    </style>
</body>
👉 Example 2: Customize the button shape and colors:
(In this example, you change the button’s roundness, border color, and background color.)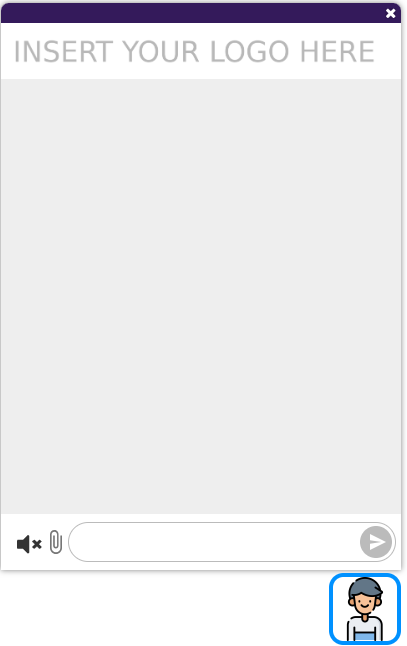
<body>
    <script src="https://static.zenvia.com/embed/js/zenvia-chat.hlg.min.js"></script>
    <script>
      var chat = new ZenviaChat('59aef0d85ebad512447fb2fa870bbd5a').embedded('button').build();
    </script>

    <style>
        .znv-chat .znv-float-button {
          border-radius: 20% !important;
          border-color: rgb(0, 145, 255) !important;
          background-color: white !important;
        }
    </style>
</body>

