Welcome to Zenvia Customer Cloud! To help you get the most out of all its features and optimize your customer communication, it's essential to integrate your management system (CRM or ERP) with our platform.
This integration allows Customer Cloud to use your operational data to offer features that simplify your daily tasks, such as creating contact segments, targeted communication, and automating repetitive tasks. All of this is done with data updated automatically and in real-time.
Our platform offers two ways to integrate your system: through the predefined options within the platform, or, if your system isn't listed, you can request integration from our team, who will handle the process via API.
This article will guide you step-by-step through these initial stages and integration options, ensuring you can set up your account and connect your system effectively.
First Steps and System Integration
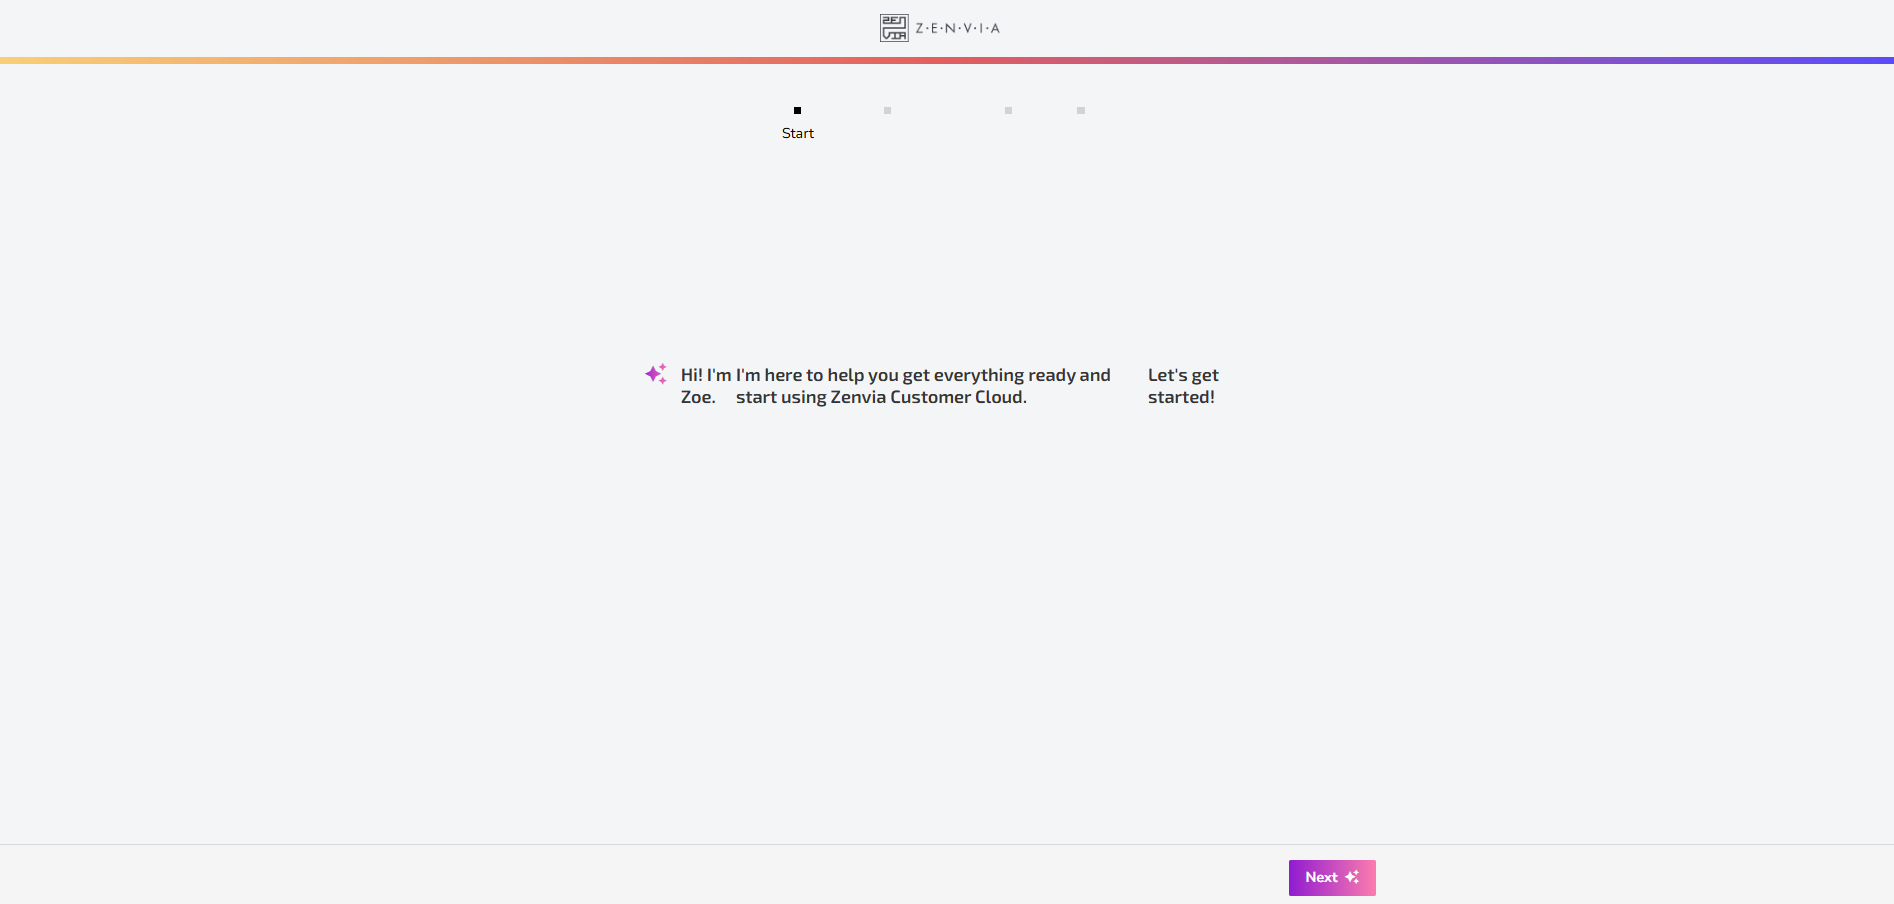
After logging into Zenvia Customer Cloud for the first time, you'll be greeted by Zoe, who will help you get everything ready to start using the platform. Click Next to proceed with the initial steps.
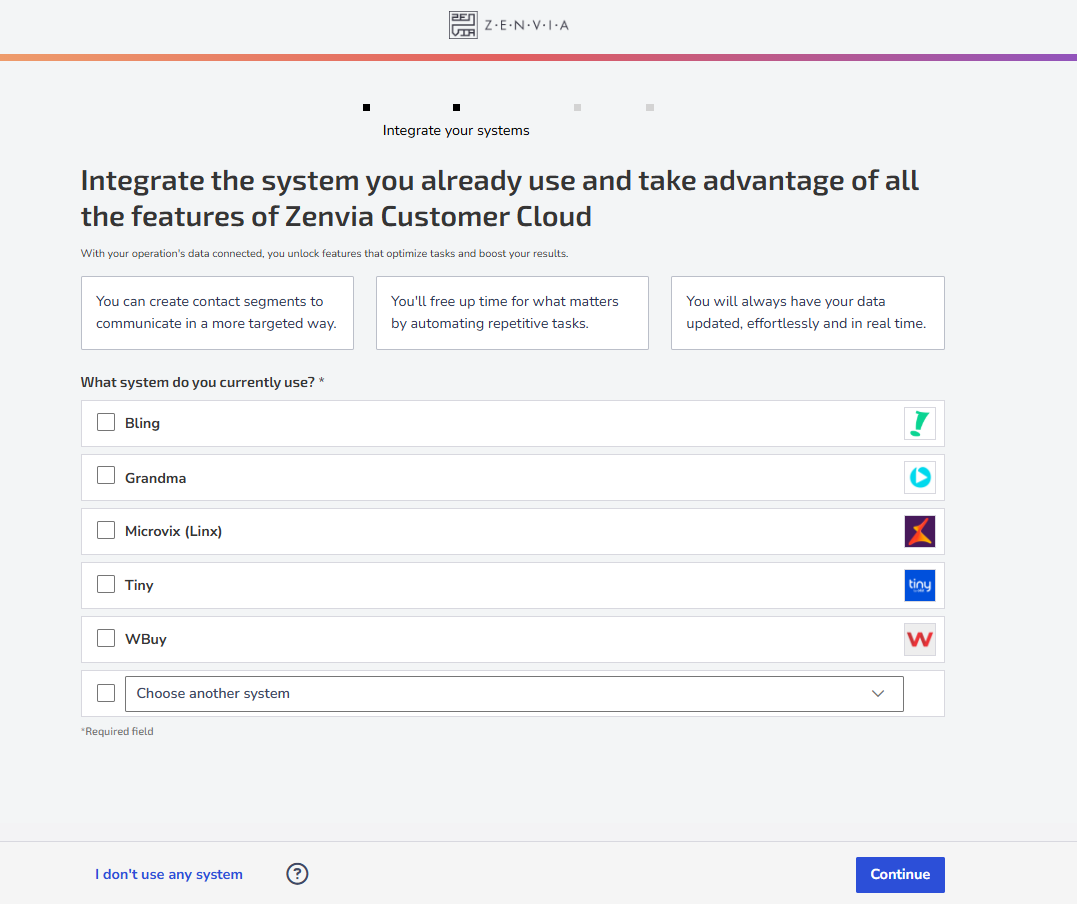
After Zoe's introduction, you'll be directed to the Integrate your systems screen. There, you'll see the question: "Which system do you want to integrate?" followed by a list of the most popular systems that can be integrated.
Next, follow the tutorials for the integration options:
Direct Integration (If your system is on the list)
Select one or more checkboxes corresponding to the system(s) you wish to integrate. You can select one or more systems from the list simultaneously, either for direct integration or to indicate interest in future integration. Currently, the direct integrations available are: Bling, Microvix, Omie, Tiny, and WBuy.
Follow the instructions:
Select the desired systems by checking the corresponding boxes.
After selection, you'll be directed to the integration step for each selected system.
Access the articles below for step-by-step instructions on integrating your chosen system with Zenvia Customer Cloud:
Requesting Integration from the Team (If your system is not on the list)
If your CRM or ERP system isn't among the predefined options in the list, you can request that our team perform the integration for you.
This process is ideal for more specific or customized systems, ensuring that the connection with the Zenvia Contacts API is made optimally and securely.
Follow the instructions:
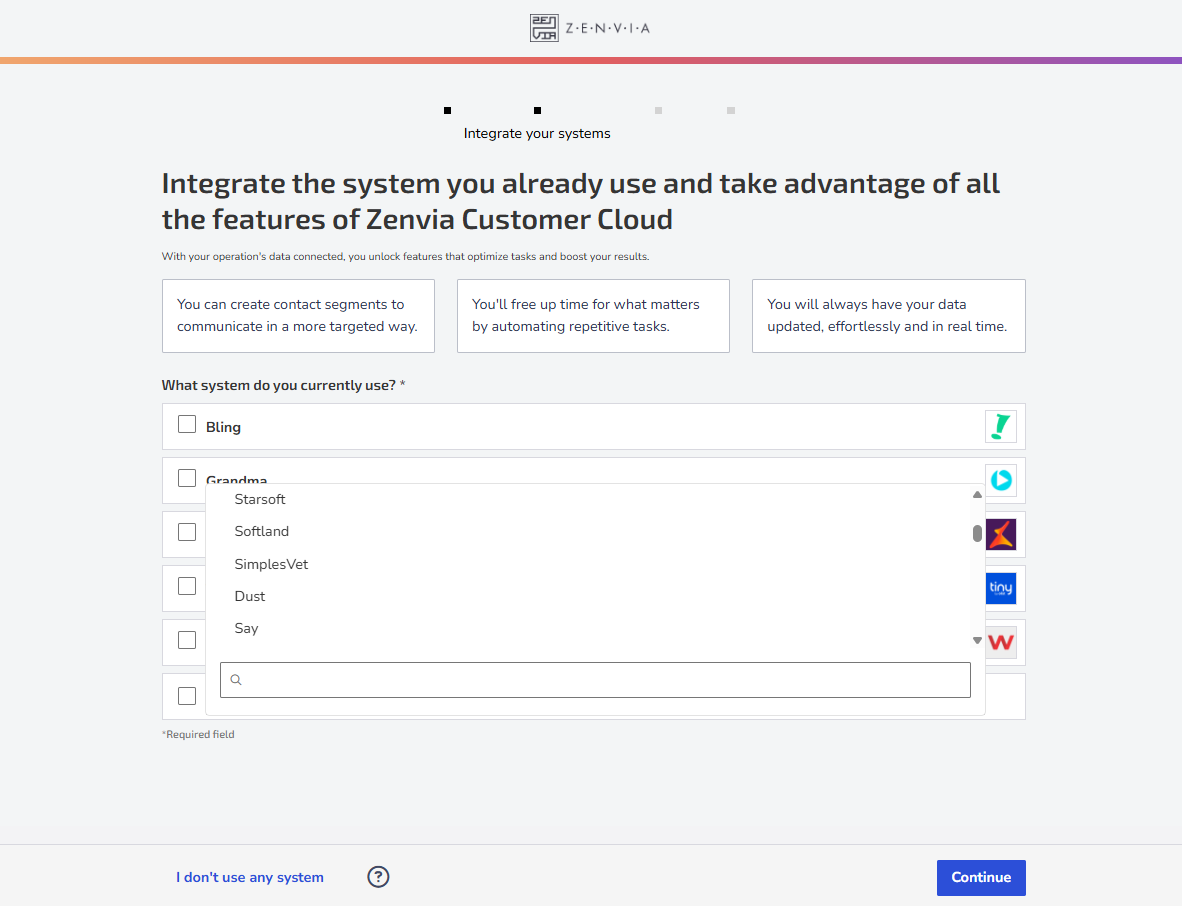
On the Integrate your systems screen, select the Choose another system option.
Type the name of the CRM or ERP system you want, if it's not available among the list options.
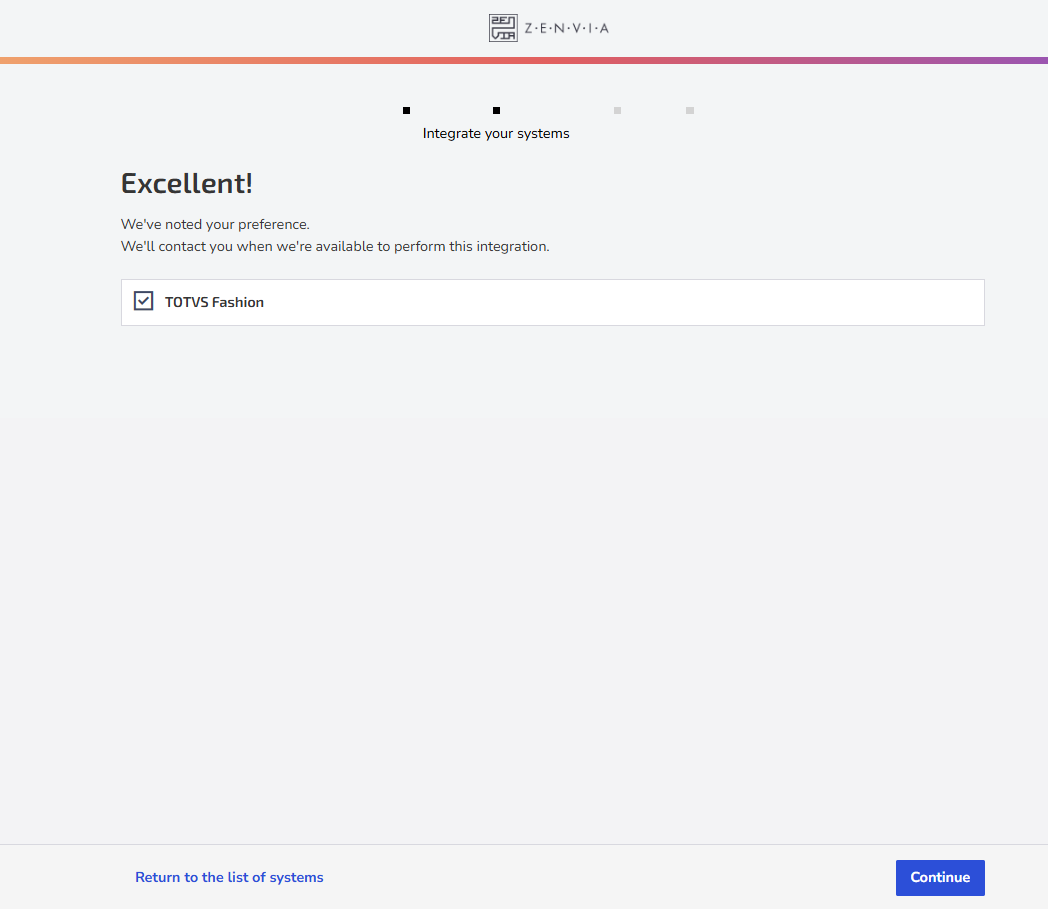
3. Click the "Continue" button. Clicking this button will automatically send a notification to our team.
That's it! This notification will contain all relevant information about you and the system you wish to integrate, allowing them to begin the analysis and development process for your integration. You'll be notified when everything is ready.
While a specific integration is not available or if you prefer, you can import your contacts via CSV file.
Follow the tutorial below:
Import CSV file with contacts
CSV file requirements
- The file must be in CSV format (comma or semicolon-separated values).
- It must contain the phone number or email address in the first column.
- Phone format: DDI+DDD (ex: 5551999999999).
- The first line of the file must be the header.
- The maximum file size is 75 MB.
How to import the file
- Drag and drop the file or click on Select file.
- Add the contacts to a list.
- Click on Create my contact base and continue.
Resolve errors when uploading the CSV file
If you encounter issues importing your CSV file, check the solutions below:
| Error | How to resolve |
|---|---|
| Invalid format | Check if the file is in CSV format. |
| File too large | Split the file into smaller parts or reduce its size. |
| File without header | Check if the file contains the header with the correct information. |
| Repeated contact data | Review the file to remove duplicate information. |
| Invalid phone format | Check if the phone numbers are in DDI+DDD format (ex: 5551999999999). |
Select the information for import
- Select the columns you want to import.
- Define the corresponding field in Zenvia Customer Cloud (mobile phone, email, etc.).
- If necessary, create extra fields, such as "Birthday."
- Click on Create my contact base and continue.
Add team members
Add the people who will have access to Zenvia Customer Cloud:
⚠️ Attention: Users added at this stage will automatically receive an Admin profile. If you need to adjust the profile, go to Settings > Users and organization after completing this step.
- Paste or type one or more email addresses;
- Click on Add and continue.
Done! You are now all set to use Zenvia Customer Cloud and explore the features on the homepage.


