Integrate Meta Ads Manager with Zenvia Customer Cloud to expand your marketing strategies.
Benefits of Integration
The integration can be utilized for:
- Ads:
Transform Instagram posts into ads with a click-to-WhatsApp feature. These ads enable leads to initiate business conversations or interact with chatbots by tapping on the ad, enhancing the customer experience. - Analytics > Campaigns:
Monitor performance metrics, such as contact responses, sales conversions, and return on investment (ROI), providing a comprehensive view of the impact of campaigns created on Meta.
Mandatory Requirements
To create ads or use the integration, you need to set up the following Meta accounts before connecting to Zenvia Customer Cloud:
- Meta Business Suite: The central management platform.
- Meta Ads Manager: Active account for creating ads.
- Facebook Page: Must be linked to the ads account.
- Instagram Account: Linked to the Facebook Page.
- WhatsApp Number: Associated with the Facebook/Instagram Page and also registered in Zenvia Customer Cloud for use in Business Chat.
All these accounts (items 2 to 5 above) must be linked to the Meta Business Suite to centralize information management, as shown in the image below:
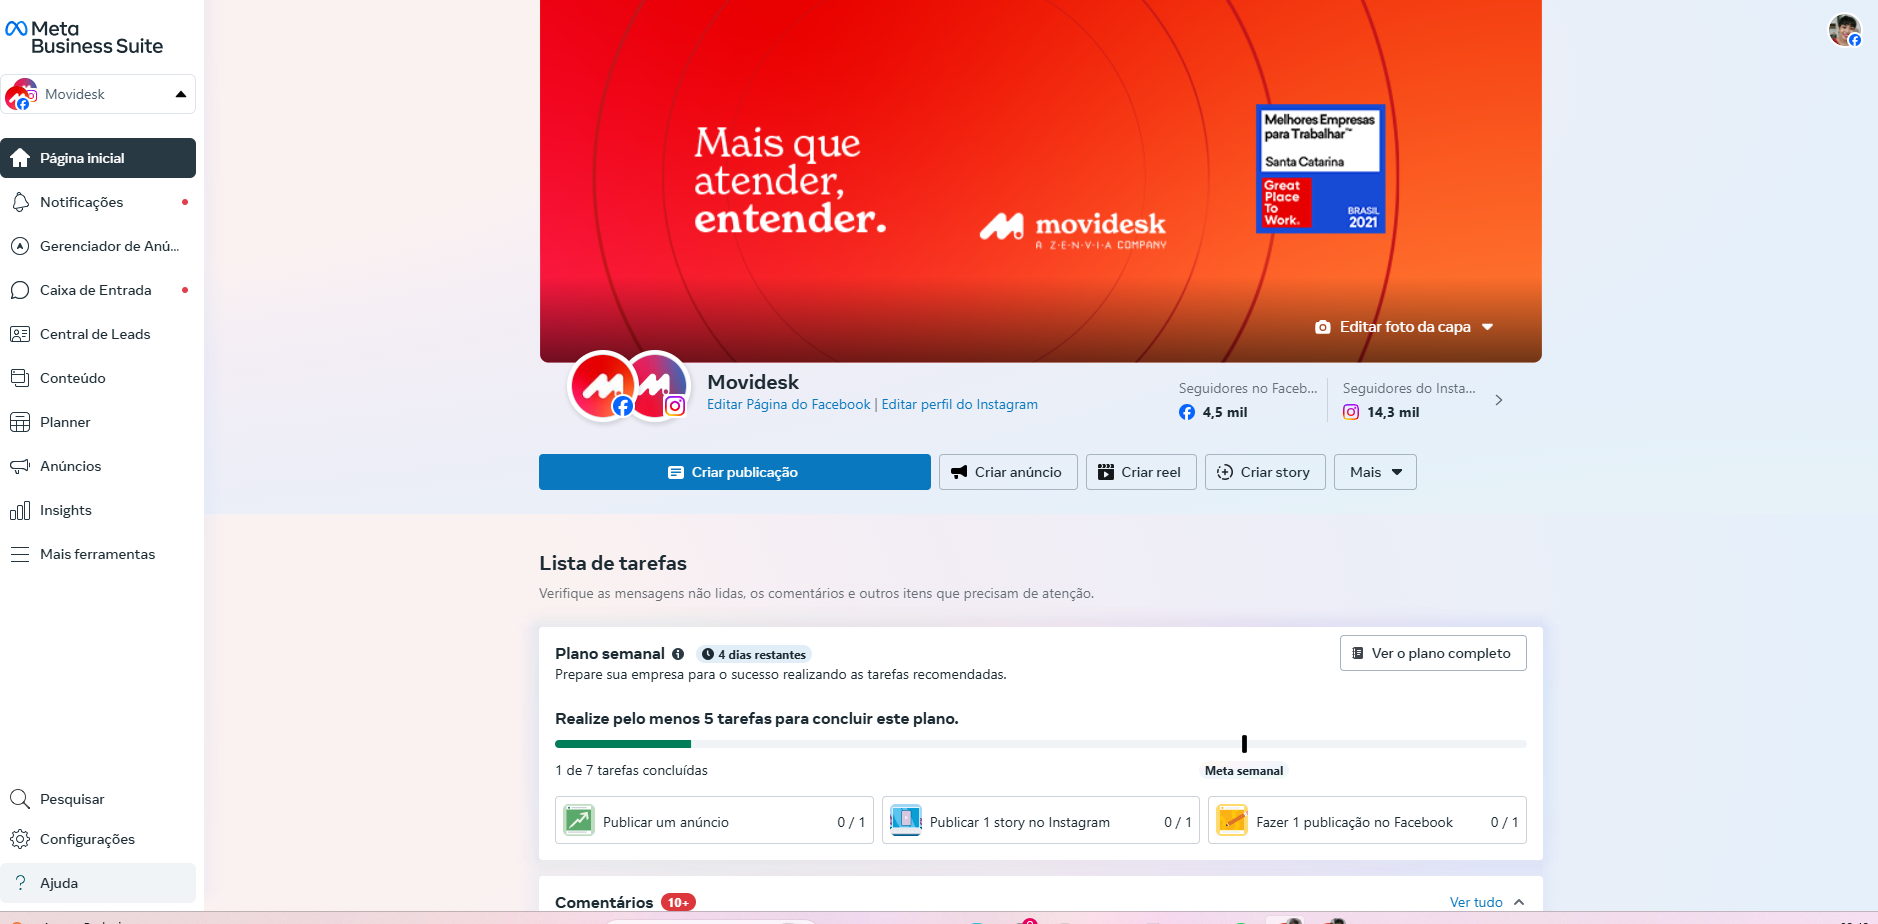
The settings for Facebook Pages, Instagram, and Ads Manager can be made within the Meta Business Suite. You can also access the Settings menu and make all connections in the Accounts section.
How to Link Your Meta Account to Zenvia Customer Cloud
After completing the setup on Meta, follow these steps to integrate the information into Zenvia Customer Cloud:
On Zenvia Customer Cloud:
1. Access the side menu and click on Settings > Channels.
2. Locate the Meta Marketing option and click on Integrate.
3. If you are not logged in to your Facebook or Instagram account, enter your business credentials.
On Facebook:
4. Select the business portfolio you want to connect to Zenvia.
5. Choose the page(s) that Zenvia Customer Cloud should access.
6. Select the ads account(s) to be integrated and click on Continue.
7. Set up the event data set (name it or use the default name suggested) and click on Create.
8. Review the permissions and page information that Zenvia Customer Cloud will access. Click on Confirm and then on Save.